Who doesn't love to doodle on a chalkboard? As a kid, my favorite thing in school other than recess and lunch was getting the opportunity to write on the chalkboard. They are fun for grown ups too; writing messages and cool phrases is an endless entertainment. Want to make your own? Here's some tips on how to do it!
I'm going to show you two different chalk boards that we made recently, one for our kids and one for us grown ups.

A good way to start is with a salvaged frame. Here I have a 3'x4' canvas with a frame. It's very big. I got it for $8 at my local thrift shop.

I removed the canvas from the frame, and saved the canvas for a later project. Never give up a perfectly good canvas!

So here's what we have to work with.

Here is the other frame. I think I bought this one at a yard sale. I love the ornate detail. It was like this when I got it so it's already ready to go.

A close up of the design.

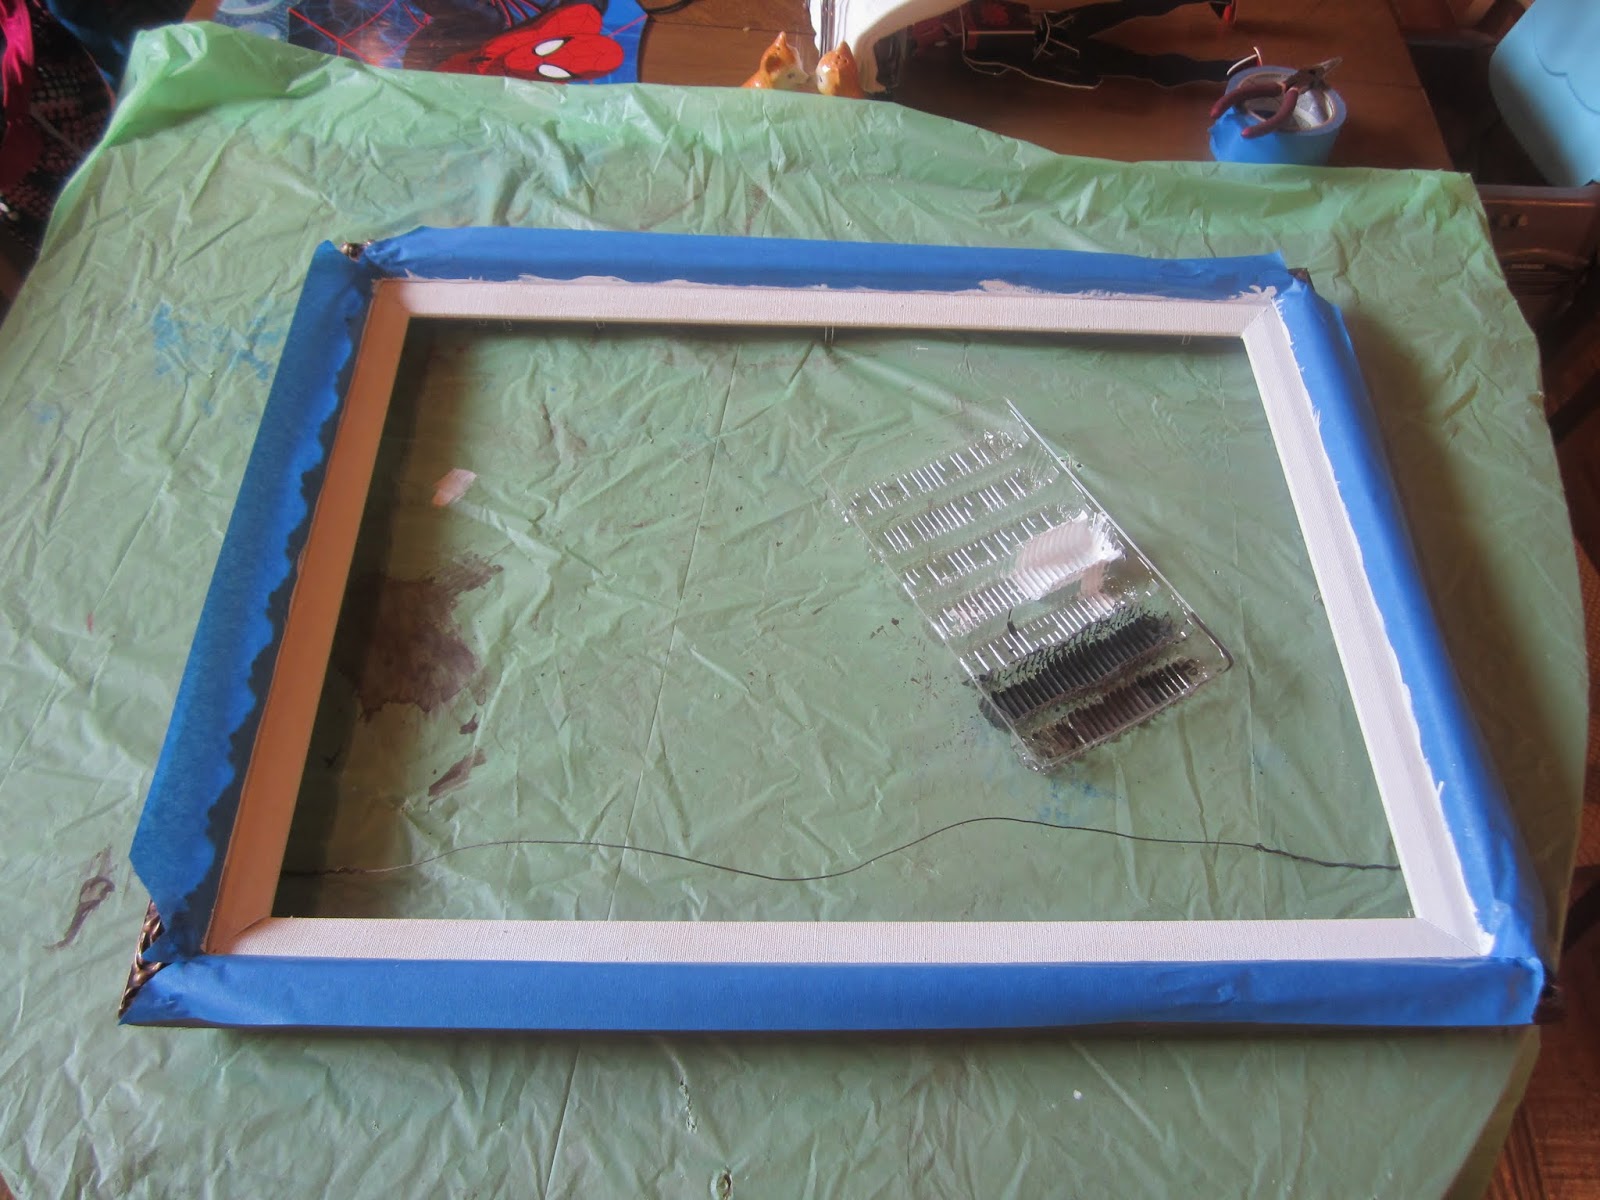
A little tape and we're ready to paint.

Prime and paint. A nice red for the kids.

A cool copper for me.

On the kids' board, I noticed that the paint wouldn't really take to the fabric-y part of the frame. So, we have to paint it something different by hand.

So I decided to paint it black. It took a few coats, but eventually it covered enough and looks great.

For the grown up board, I did a stain over it. I mixed a little black paint with my dark brown paint, brushed it over and wiped/patted the paint off with a paper towel. You want to let it fall in the crevices so it brings out all the detail.

I actually started out with just my brown paint and realized that it wasn't dark enough. So I went back over it with my black/brown mixture and it looks much better. You have to play with it a little; you might like it a little more subtle so you wipe off more paint. The more paint you leave on, the older it looks.
This frame also have a fabric-y (I really should learn the name for that) part, so I hand painted it as well. I started with white, then yellow. If you want to paint something yellow, it really needs to have a white primer under it.
Now that the frames are finished, we need to make the board part. Originally, I thought we would just buy a sheet of plywood and cut it to size. But Nick pointed out that the wood has a grain that would show ridges with the chalk. Hmm, what to use?

He bought this melamine type material, called hardboard, typically used for cabinet backer. It's super smooth. This definitely was the most expensive part, costing about $20 a sheet.

Nick cut both boards, and now they are ready for painting.

First, a coat of primer to help the chalkboard paint adhere to the material. I used a foam roller to make it happen faster.

Next step is the chalkboard paint (I didn't quite get the pictures). It only took two coats to get it finished. Make sure you cure it by running a piece of chalk sideways over the entire board.

Nick nailed the boards to the frames and voila! They are finished! The kids love their chalkboard, we use it for school already.

The grown up board is also looking great!

It fits in with great with my wall installation!
Chalkboards are fun and pretty easy to make. Just find yourself a cool frame and you're on your way to a cool new art piece!


